INTRODUCTION:
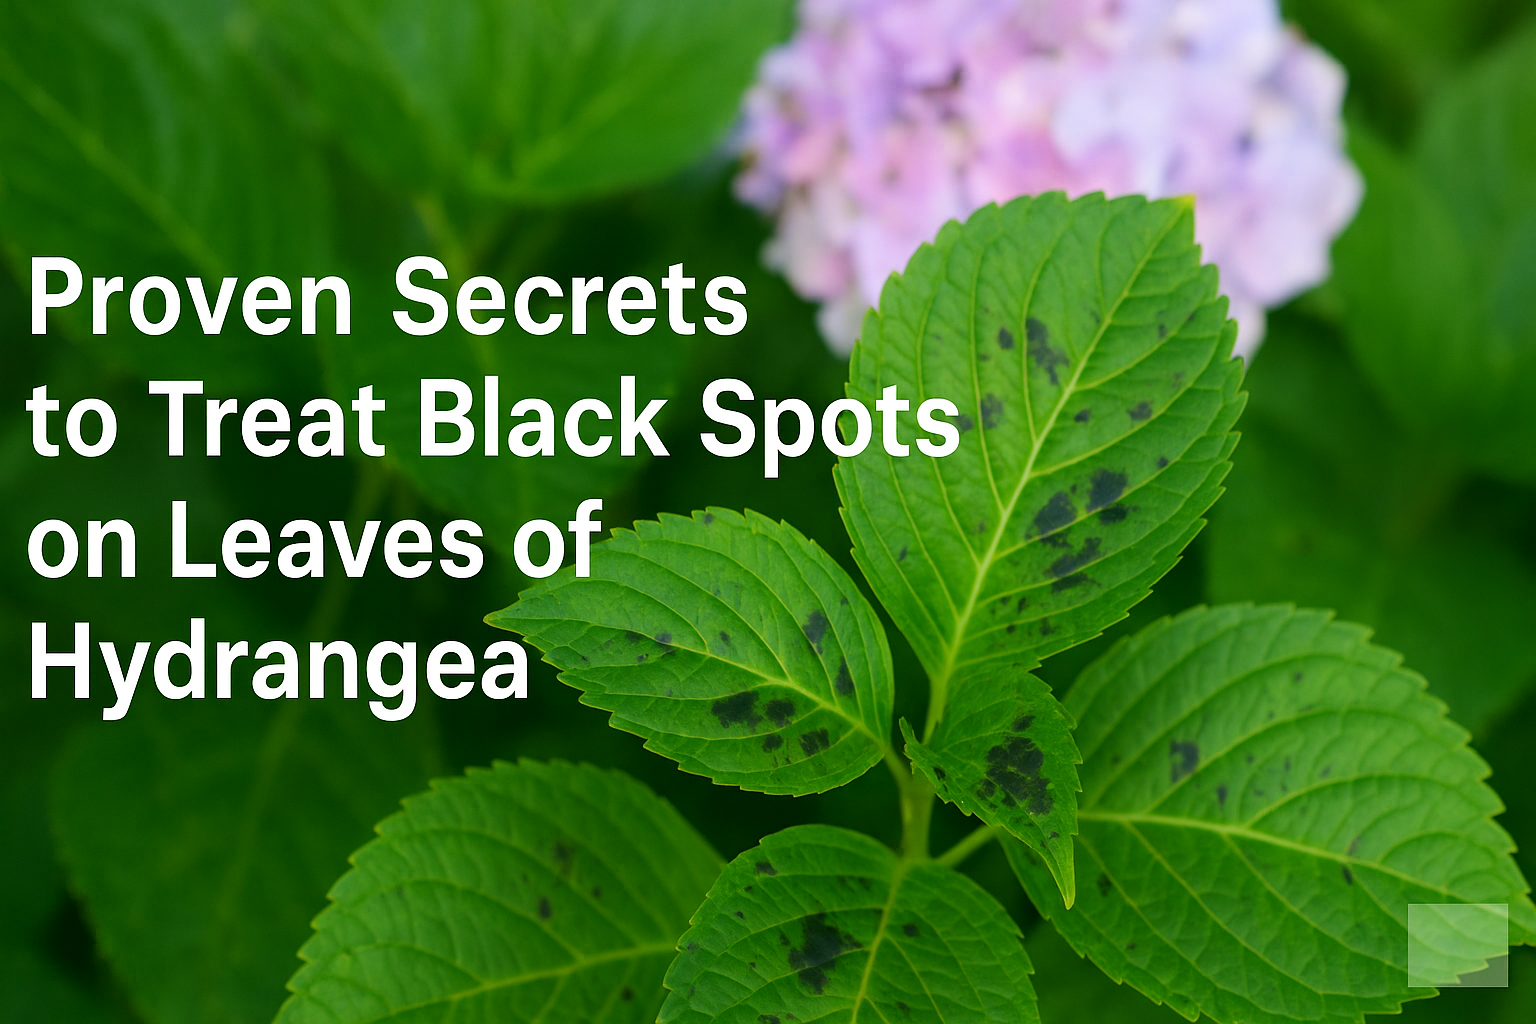
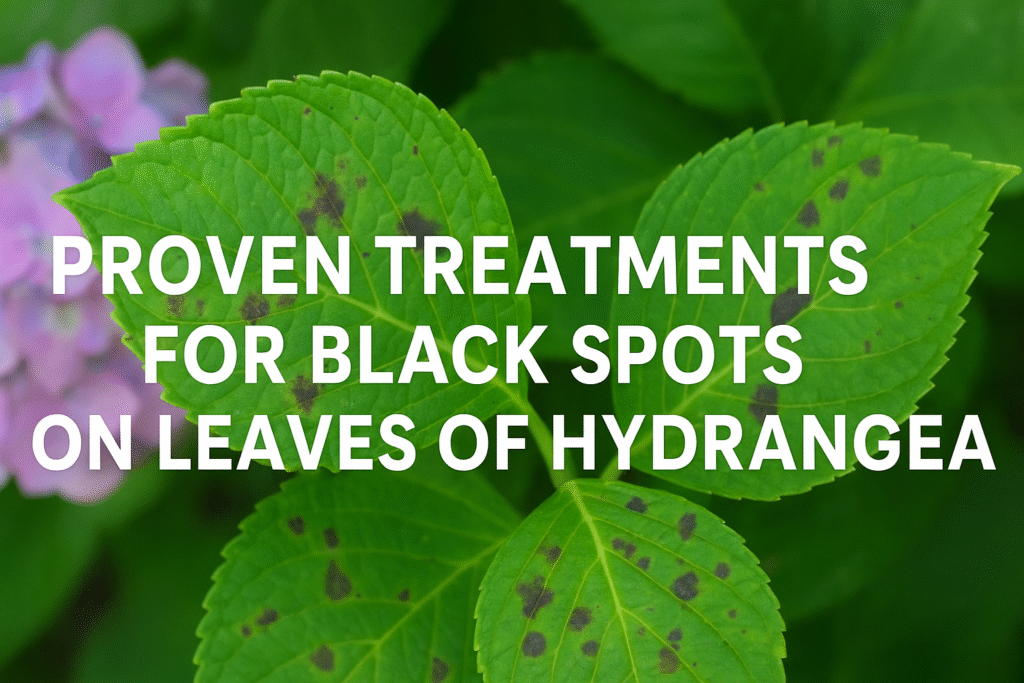
Hydrangeas are a gardener’s delight, celebrated for their lush foliage and stunning blooms. But spotting black spots on leaves of hydrangea can quickly turn joy into concern. These unsightly marks may signal underlying problems that, if ignored, can affect the plant’s health. In this guide, we’ll reveal proven methods to treat black spots on hydrangea leaves and restore your plants to their vibrant best.
Understanding Black Spots on Leaves of Hydrangea
Black spots on hydrangea leaves are often a symptom of fungal infections, but environmental stress and pests can also be responsible. Common fungal culprits include Cercospora and Anthracnose, which thrive in warm, humid conditions and spread rapidly when left unchecked.
Key Symptoms to Watch For:
-
Small, dark spots forming on the leaf surface
-
Yellowing around the infected area
-
Premature leaf drop if the problem worsens
Expert Tip: Horticulturist Dr. Elaine Thompson advises, “Early detection is crucial. Acting promptly can prevent serious damage to your hydrangea.”
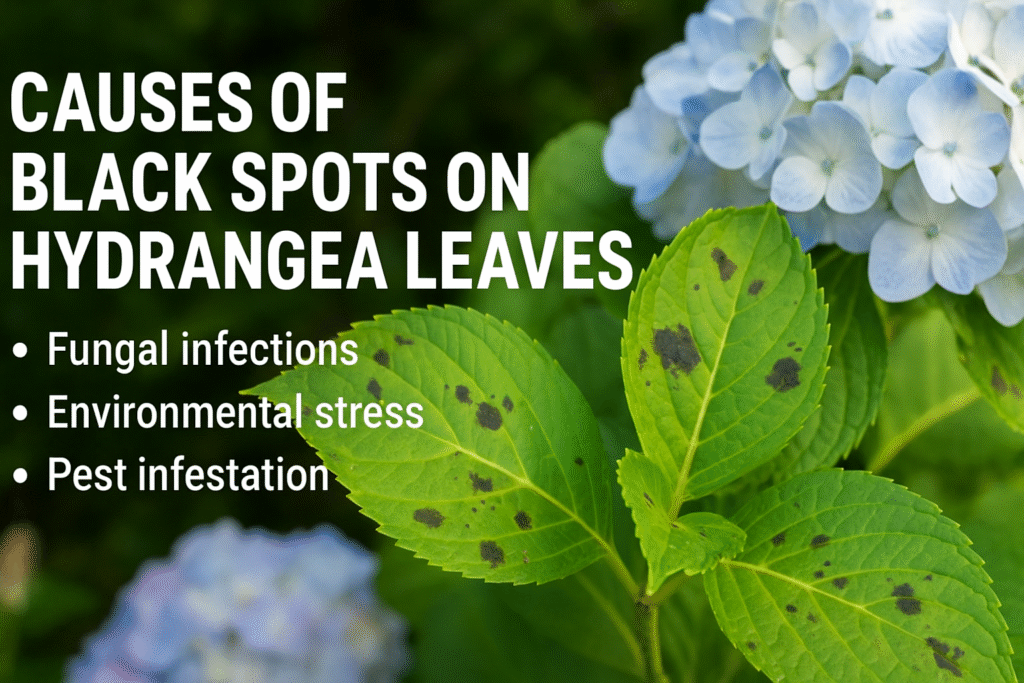
Common Causes of Black Spots on Hydrangea Leaves
Understanding the root cause helps in choosing the right treatment:
1. Fungal Infections
Fungi flourish in damp environments. Overhead watering or poor air circulation creates ideal conditions for spores to infect leaves.
2. Environmental Stress
Hydrangeas stressed by too much sun, irregular watering, or nutrient deficiencies are more susceptible to diseases that appear as black spots.
3. Pest Infestation
Insects like aphids and leafhoppers can damage leaves, providing an entry point for pathogens.
Effective Treatments for Black Spots on Leaves of Hydrangea
Here are practical steps that have proven successful for gardeners:
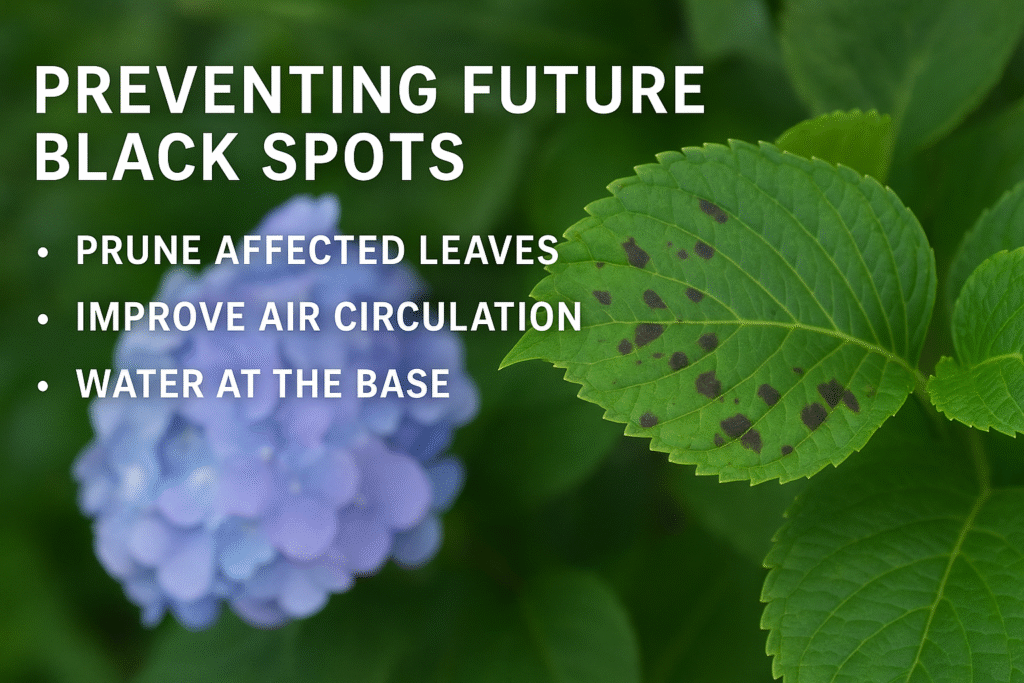
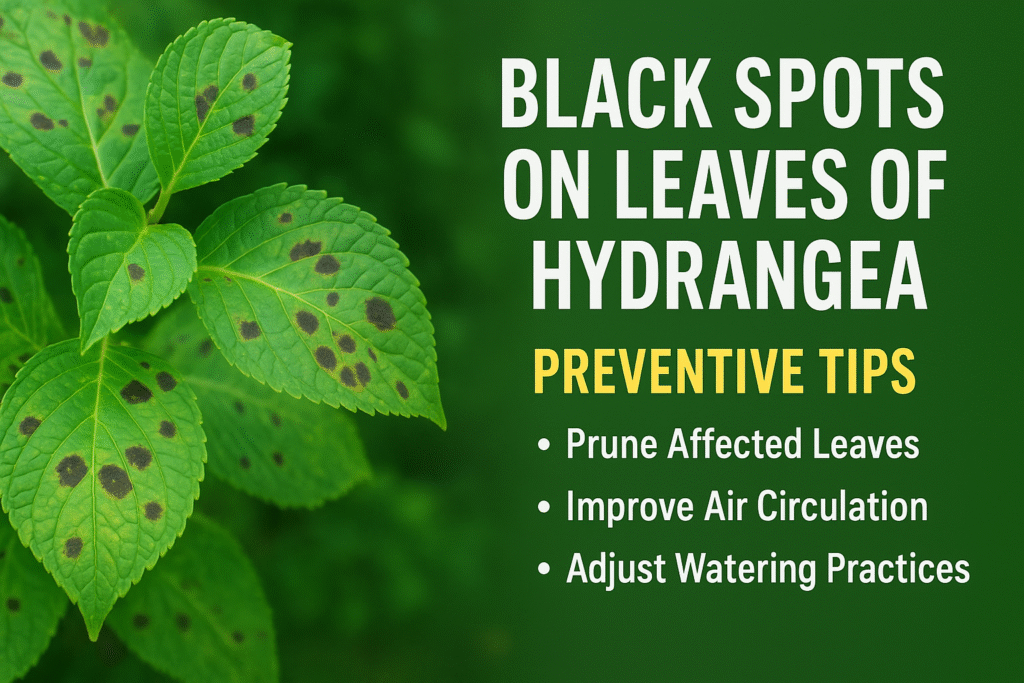
1. Prune Infected Leaves
Trim away affected foliage to prevent fungal spread. Dispose of leaves safely—do not compost, as spores can survive and reinfect plants.
2. Enhance Airflow
Ensure enough spacing between hydrangeas and avoid overcrowding. Improved air circulation dries leaves faster and reduces fungal growth.
3. Water Correctly
Water at the base of the plant rather than overhead. Keep soil consistently moist but avoid wetting leaves, which encourages fungal activity.
4. Use Fungicides Wisely
Organic fungicides, such as neem oil or copper-based sprays, are effective in controlling leaf spots. Always follow product instructions carefully for safe use.
5. Boost Plant Health
Healthy plants resist infections better. Fertilize as needed, monitor for pests, and mulch to retain soil moisture.
Gardener Story: Jane from Texas noticed black spots early in spring. After pruning affected leaves and switching to base-level watering, her hydrangeas recovered beautifully within weeks.
Preventing Future Black Spots on Leaves of Hydrangea
Prevention is the best approach. These steps help keep hydrangeas healthy and spot-free:
-
Regular Inspection: Check leaves weekly to detect early signs of infection.
-
Proper Spacing: Maintain 2–3 feet between plants for airflow.
-
Seasonal Care: Adjust watering and fertilization according to seasonal requirements.
-
Sanitize Tools: Clean pruning shears to prevent spreading fungal spores.
Expert Advice
“Consistent observation and maintenance are the gardener’s best allies against black spots,” says Dr. Thompson. “Most plants respond within one season if treated promptly.”
Real-Life Examples
Communities in Florida faced severe leaf spot outbreaks due to heavy rainfall. By improving plant spacing, pruning infected foliage, and using organic fungicides, they reduced new black spots by over 80% within a month. These examples demonstrate that even serious leaf spot issues can be managed with consistent care and the right techniques.
Considerations and Common Misconceptions
Some gardeners avoid chemical fungicides, fearing harm to the environment. While organic solutions work for mild infections, severe cases may require approved chemical treatments. The key is to balance eco-friendliness with plant health—choosing safe, effective products when necessary.
Conclusion
Black spots on leaves of hydrangea may seem alarming, but they are manageable. By identifying the causes, applying effective treatments, and following preventative measures, your hydrangeas can thrive year after year. Remember, awareness, observation, and timely action are the true secrets to a healthy, spot-free garden.
With consistent care and attention, even the most stubborn black spots can be overcome, ensuring your hydrangeas remain the centerpiece of your garden.
You can also read about: Shocking Early Evolution Hydrangea Trends for 2025
FAQs About Black Spots on Leaves of Hydrangea
1.What causes black spots on leaves of hydrangea?
Black spots are usually caused by fungal infections, environmental stress, or pest damage.
2.Can black spots on hydrangea leaves kill the plant?
Rarely, but if left untreated, severe infections can weaken the plant and affect bloom quality.
3.How do I treat black spots on leaves of hydrangea naturally?
Pruning affected leaves, improving air circulation, and using organic fungicides like neem oil are effective natural solutions.
4.Are black spots on hydrangea leaves contagious to other plants?
Yes, fungal spores can spread, so remove infected leaves and sanitize gardening tools.
5.How can I prevent black spots on hydrangea leaves?
Regular monitoring, proper watering, good spacing, and maintaining plant health help prevent black spots.